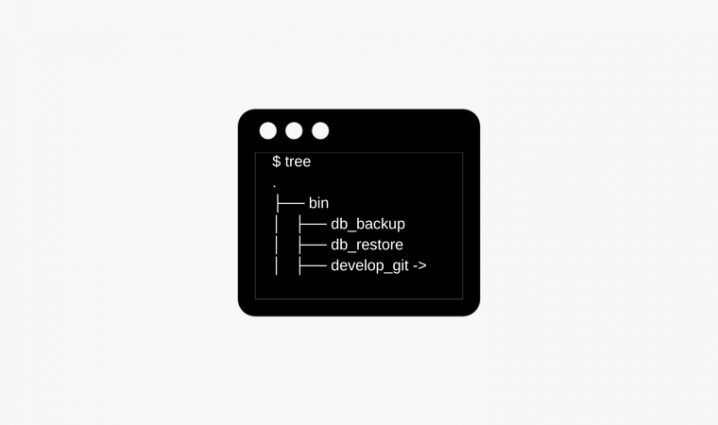
ディレクトリ構造を階層的に表示させることができるTreeコマンドのインストール方法を説明します。
MacとLinux(Ubuntu、CentOS)へのインストール方法について解説します。
目次
treeコマンドとは?
treeコマンドとはディレクトリを階層的に表示させることができ、構造が見やすくなります。

Macにtreeコマンドをインストールする方法
treeコマンドを導入するには、パッケージ管理ツール「Homebrew」を使います。
「Homebrew」を導入していない場合、「MacにパッケージマネージャーHomebrewをインストールする方法【初心者向け】」を確認してください。
↓Homebrewが導入できていれば、以下のコマンドで簡単にMacにインストールできます。
brew install tree
Ubuntuにtreeコマンドをインストールする方法
Linuxのディストリビューション、Ubuntuにtreeコマンドをインストールする方法です。
↓アップデートします。
sudo apt-get update
「Reading package lists… Done」ででればOKです。
↓treeコマンドのインストール
sudo apt-get install tree
「setting up tree (1.6.0-1) …」と表示されたらインストール完了です。
CentOSにtreeコマンドをインストールする方法

Linuxのディストリビューション、CentOSにtreeコマンドをインストールする方法です。
yum install treetreeコマンドの使い方
vagrant@vvv:~tree
.
├── bin
│   ├── db_backup
│   ├── db_restore
│   ├── develop_git -> /srv/www/wordpress-develop/bin/develop_git
│   ├── makepot
│   ├── vagrant_destroy
│   ├── vagrant_halt
│   ├── vagrant_suspend
│   ├── vagrant_up
│   ├── xdebug_off
│   └── xdebug_on
└── google.com

2 directories, 10 files
Treeコマンドのオプション
Treeはコマンドは「tree [path] [option]」と指定して実行します。
PATHを指定しなかった場合、カレントディレクトリとなります。
オプションの使用例
↓階層の数を指定する、オプションの使用例です。
vagrant@vvv:~tree -L 1
.
├── bin
└── google.com
オプション一覧
——- Listing options ——-
-a All files are listed.
-d List directories only.
-l Follow symbolic links like directories.
-f Print the full path prefix for each file.
-x Stay on current filesystem only.
-L level Descend only level directories deep.
-R Rerun tree when max dir level reached.
-P pattern List only those files that match the pattern given.
-I pattern Do not list files that match the given pattern.
–noreport Turn off file/directory count at end of tree listing.
–charset X Use charset X for terminal/HTML and indentation line output.
–filelimit # Do not descend dirs with more than # files in them.
–timefmt <f> Print and format time according to the format <f>.
-o filename Output to file instead of stdout.
——– File options ———
-q Print non-printable characters as ‘?’.
-N Print non-printable characters as is.
-Q Quote filenames with double quotes.
-p Print the protections for each file.
-u Displays file owner or UID number.
-g Displays file group owner or GID number.
-s Print the size in bytes of each file.
-h Print the size in a more human readable way.
–si Like -h, but use in SI units (powers of 1000).
-D Print the date of last modification or (-c) status change.
-F Appends ‘/’, ‘=’, ‘*’, ‘@’, ‘|’ or ‘>’ as per ls -F.
–inodes Print inode number of each file.
–device Print device ID number to which each file belongs.
——- Sorting options ——-
-v Sort files alphanumerically by version.
-r Sort files in reverse alphanumeric order.
-t Sort files by last modification time.
-c Sort files by last status change time.
-U Leave files unsorted.
–dirsfirst List directories before files (-U disables).
——- Graphics options ——
-i Don’t print indentation lines.
-A Print ANSI lines graphic indentation lines.
-S Print with ASCII graphics indentation lines.
-n Turn colorization off always (-C overrides).
-C Turn colorization on always.
——- XML/HTML options ——-
-X Prints out an XML representation of the tree.
-H baseHREF Prints out HTML format with baseHREF as top directory.
-T string Replace the default HTML title and H1 header with string.
–nolinks Turn off hyperlinks in HTML output.
—- Miscellaneous options —-
–version Print version and exit.
–help Print usage and this help message and exit.
最後に
ディレクトリ構造を階層的に表示させることができるTreeコマンドのインストール方法を説明しました。


